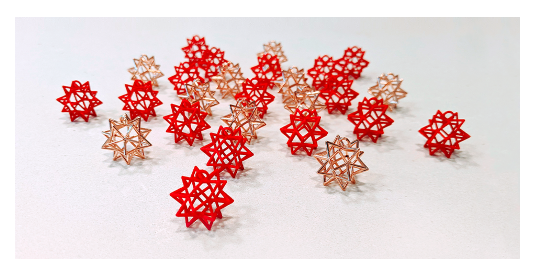
I enjoy turning mathematical concepts into wearable pieces of art. That’s the idea behind my business, Hanusa Design. I make unique products that feature striking designs inspired by the beauty and precision of mathematics. These pieces are created using the range of functionality in the Wolfram Language. Just in time for Valentine’s Day, we recently launched Spikey earrings in the Wolfram Store, which are available in rose gold–plated brass and red nylon. In this blog, I’ll give a look under the hood and discuss how an idea becomes a product through the Wolfram Language.
First, we’ll go through a tutorial of how to create a pair of mathematical earrings. In the second half of this post, I’ll share the mathematics and Wolfram Language commands behind some of my favorite designs.
Creating a Pair of Dodecahedron Earrings
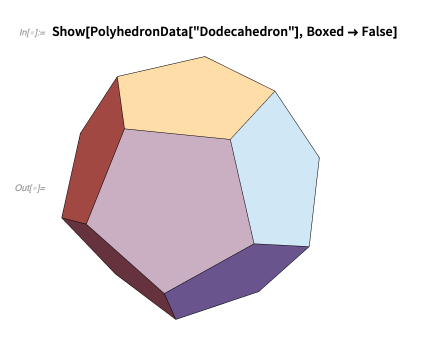
Every item at Hanusa Design has been 3D modeled in Wolfram Mathematica and then 3D printed to bring the jewelry to life. At the heart of a number of designs is polyhedral geometry, easily accessible in the Wolfram Language through the PolyhedronData command. For example, here is a dodecahedron:
PolyhedronData also puts at your fingertips the coordinates of the vertices, edges and faces of the polyhedron, which makes creating a wireframe version of the dodecahedron a snap:
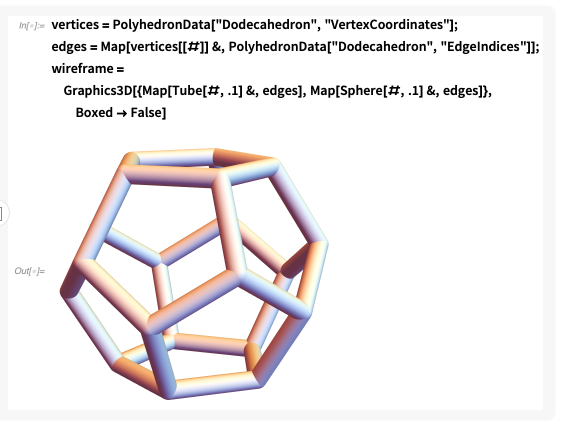
In the previous code, "EdgeIndices" refers to vertex pairs that make up the set of edges. We require both the Tube command to create the edges of the wireframe and the Sphere command to complete the corners in order for the result to be 3D printable. The model is ready to be exported to one of the formats that 3D printers need:

The resulting file can now be 3D printed. However, at this point we should probably pay attention to the size and finishing of the object. I have found that reimporting an STL file is one of the best ways to ensure that Mathematica is working with a well-behaved object:
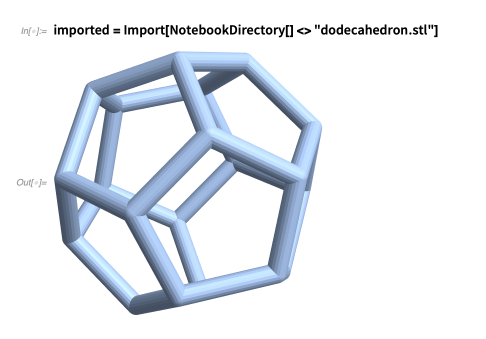
The imported model is a MeshRegion object, which means that we can apply region transformation commands. For instance, the standard dimensions for an STL file are in millimeters, so if we want a dodecahedron earring that is 2cm in width, we should resize the imported region to be 20mm wide:
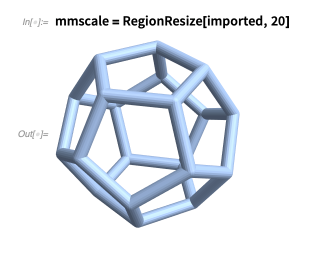
While one can attach an earwire directly to this wireframe dodecahedron, I prefer to add a ring dedicated for that purpose. I’ll also use TransformedRegion and RotationTransform twice to rotate our resized model so the ring can be attached at the top of the polyhedron. Pro tip: I figured out the angle I needed to rotate it on the y axis by applying ArcTan to the dodecahedron vertex that had a zero y coordinate:

The ring is created by using a ParametricPlot3D command to draw a circular path. This has been converted into a torus by using Tube as a PlotStyle option. Specifying the number of PlotPoints ensures that the ring is smooth instead of faceted:

Since we’ve mixed a region with a ParametricPlot3D object, I’ll export and reimport so I can make a second earring copy with TranslationTransform:
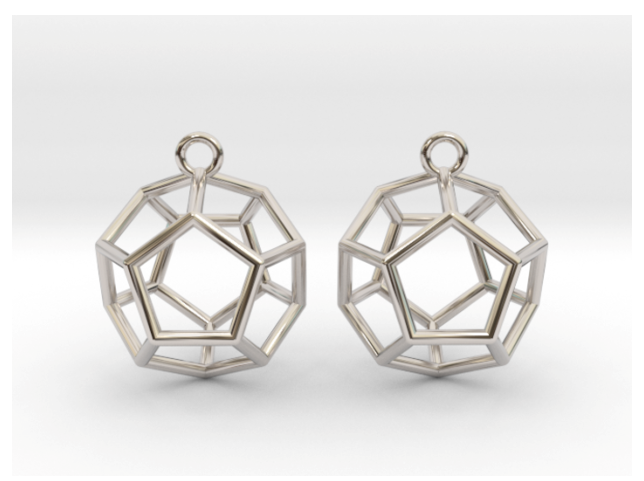
3D-printed jewelry seems to inhabit a sweet spot for 3D printing. When a piece is printed in nylon using selective laser sintering, it is inexpensive and can be dyed to be bright and eye-catching. A piece in gold, silver or brass is created through a lost-wax casting method. A high-resolution wax model is 3D printed, a plaster mold is formed around it and the wax is replaced by molten metal. Even though metal prints are more expensive than the nylon, they are still affordable because of the size of the models. Be aware that for 3D-printed objects, if you scale a model by a factor of two, that increases the volume of the material (and therefore its cost) by a factor of eight!
Mathematical Jewelry Created in Mathematica
Now that we’ve made some earrings together and explored a number of key functions, I’m excited to share a number of my mathematically inspired pieces of jewelry, all 3D modeled using the Wolfram Language.
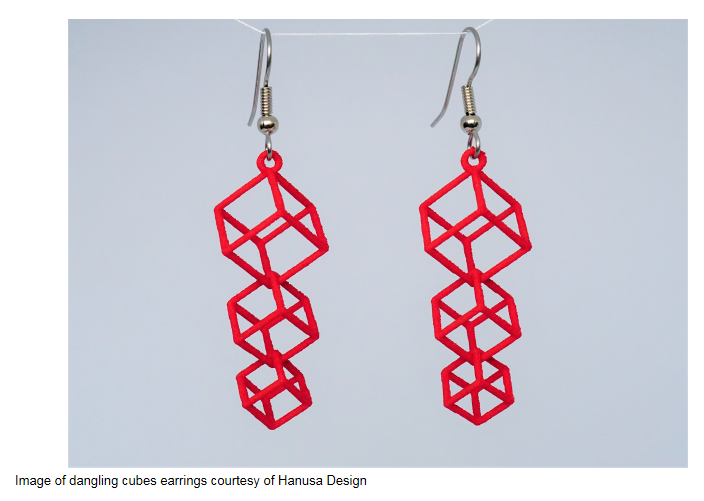
3D printing allows for intricate designs that wouldn’t be possible to create in any other way, such as when they consist of interlocking pieces. Some of my all-time bestselling designs are these dangling cubes earrings and the matching interlocking octahedron necklace. I aligned the shapes carefully to interlock and optimized their geometry to reduce printing costs.
This past holiday season, my new Mobius necklace made a strong impression. Its creation involved making a custom mathematical function for the Mobius strip (ParametricPlot3D was helpful here) and carefully choosing points on its boundary to make the triangulation aesthetically pleasing.

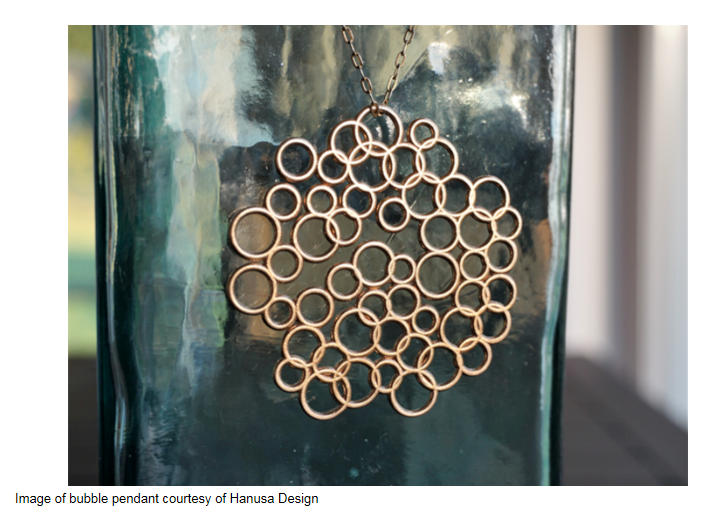
This bubble pendant is a piece of generative art, which means I designed an algorithm to place the rings in random positions and give them random radii but without having specified their final positions. Of course, I made liberal use of the RandomReal function. Read more about the pendant in this Wolfram Community post.
One of my newer pieces is this collection based on the mathematics of an Apollonian circle packing. Such an arrangement starts out with four circles that all touch each other at one point (the outer circle and three inner circles). The rest of the circles are generated by removing one of the four circles and finding a replacement circle that touches each of the others. This process can continue indefinitely with smaller and smaller circles. The bubbly Apollonian earrings are a mismatched pair where the initial choice of circles is random. They also have a bubbly feel because the outermost circle was removed.
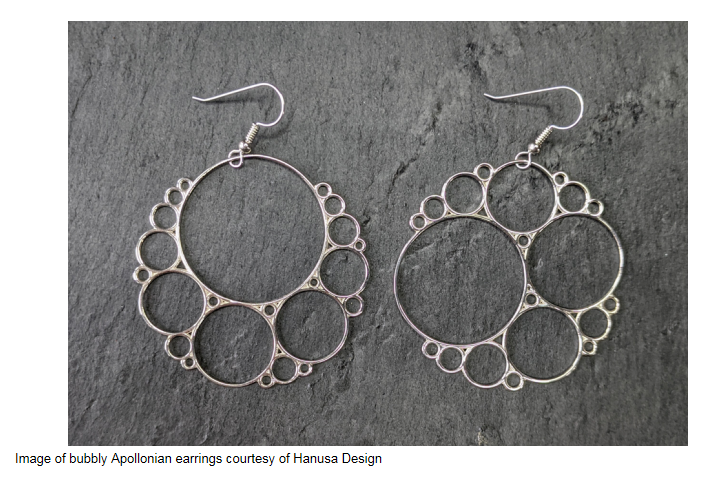
With the Apollonian necklace, the wearer’s neck lies where the largest internal circle would be. The circle replacement procedure was automated in Mathematica and run until all circles larger than a given cutoff were included.

Sometimes I hit upon a concept that seems too fun not to make. That was the case with these bold and unique rotini earrings, so called because of their pasta-like shape. These cylindrical earrings were created by rotating the shape of a plus sign (+) around the central axis based on the graph of mathematical functions, such as a parabola, an exponential function and a sawtooth function.

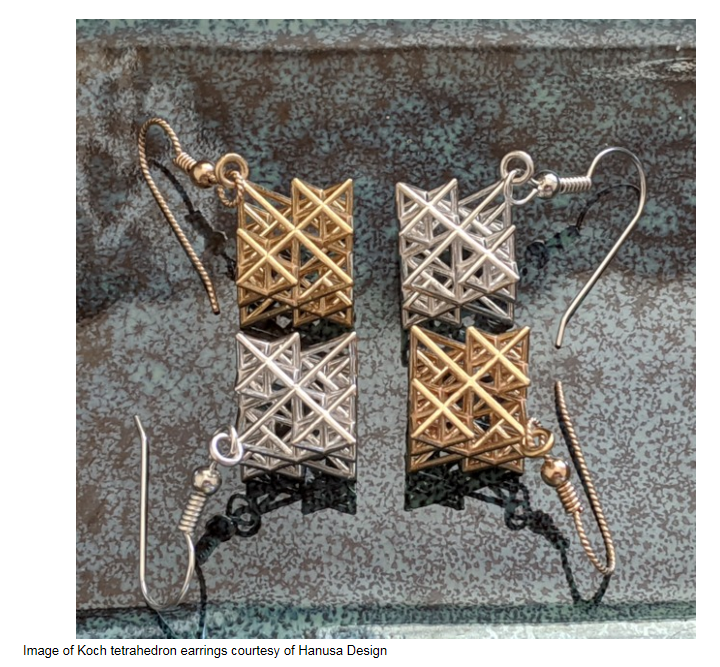
Another source of aesthetic inspiration is the mathematics of fractals. Their iterative nature is a perfect match to be programmed in Mathematica. Below are my earrings based on the Koch tetrahedron, a three-dimensional fractal. You start off with a tetrahedron, and on each of the four sides, you build a smaller tetrahedron. This new shape has many more smaller triangular sides, and on each of those, you build an even smaller tetrahedron. I’ve stopped here for this design, but if you keep going (placing smaller and smaller tetrahedra), you’ll have the whole fractal, which would be a three-dimensional analog of the Koch snowflake. Surprisingly, the limiting shape of this fractal fits perfectly into a cube.
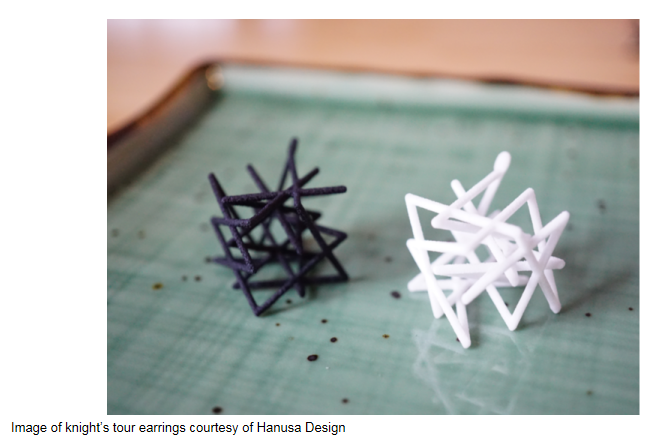
These knight’s tour earrings are some of my personal favorites. I love the black-and-white chess theme that fits the earrings because they are two different knight’s tours of positions in a 3 × 3 × 3 cube. I created a knight-move graph in Mathematica and used FindHamiltonianCycle to find two visibly different knight’s tours. I also had to use some trigonometry to stand the cubes on their corners.
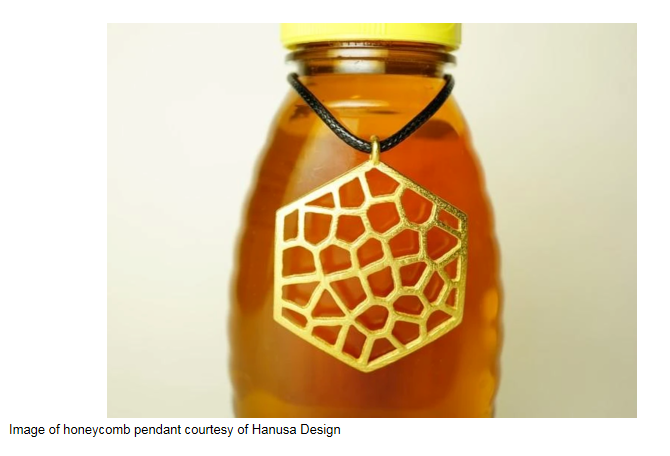
Some of my earliest pieces are these statement pendants based on the always visually pleasing Voronoi diagrams (available through the VoronoiMesh function). The honeycomb pendant required intersecting the Voronoi diagram with other shapes. (RegionIntersection was useful here.)
The points defining the Voronoi diagram in the Fibonacci snowflake pendant lie along a Fibonacci spiral.
I’ll end this photo tour with a design that I can stare at for hours: my introspection necklace. This pendant is inspired by the fourth dimension; if you look carefully, you can see that it was constructed by combining two hypercubes. I have found that 3D design requires thinking about the layers that are visible and what parts of a design block other parts of the design. The ability to partially see through an object makes for a more intricate and captivating item.
© Copyright 2000-2025 COGITO SOFTWARE CO.,LTD. All rights reserved