

This example assumes some familiarity with stamps. To learn more, see Working with stamps.
1、Go to Tools > Stamp > Create Stamp.
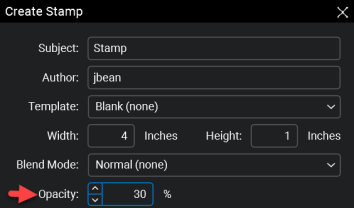
2、Set the Opacity to 30% and leave the Template field as Blank (none). If you want text or dates in your stamp, you can select these options under the Template field.
3、Click OK. The stamp is created and opens in a new Revu tab.
4、In the new stamp tab, select Image from the toolbar and choose a desired image from the file explorer window.
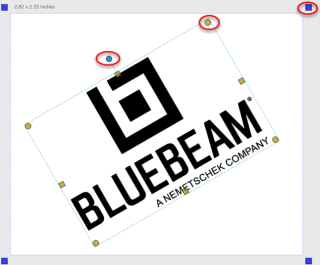
5、Click inside the stamp outline to set the image. Resize and orient the stamp if necessary by clicking and dragging the box handles.
6、Once your stamp is formatted to your liking, save the stamp by going to Revu > Save (Ctrl + S).
1、Go to Tools > Stamp . Select your newly created stamp from the displayed list.
2、Click anywhere on the document to place your stamp.
3、Drag your stamp to a desired location on the document. You can also adjust your stamp’s opacity and other settings from the dynamic properties toolbar.

4、With your stamp selected, go to Batch > Flatten Markups .
5、Under Flatten, select Currently Selected Markups and uncheck Allow Markup Recovery(Unflatten).
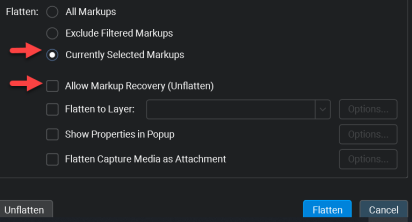
6、Click Flatten.
Your watermark has now been created and can no longer be edited.
If you want to apply a watermark to multiple drawings/files, you can use the Batch Apply Stamp tool. This process allows you to apply a stamp/watermark to multiple documents or even a collection of documents in a Set.